Automatic social images in Gatsby
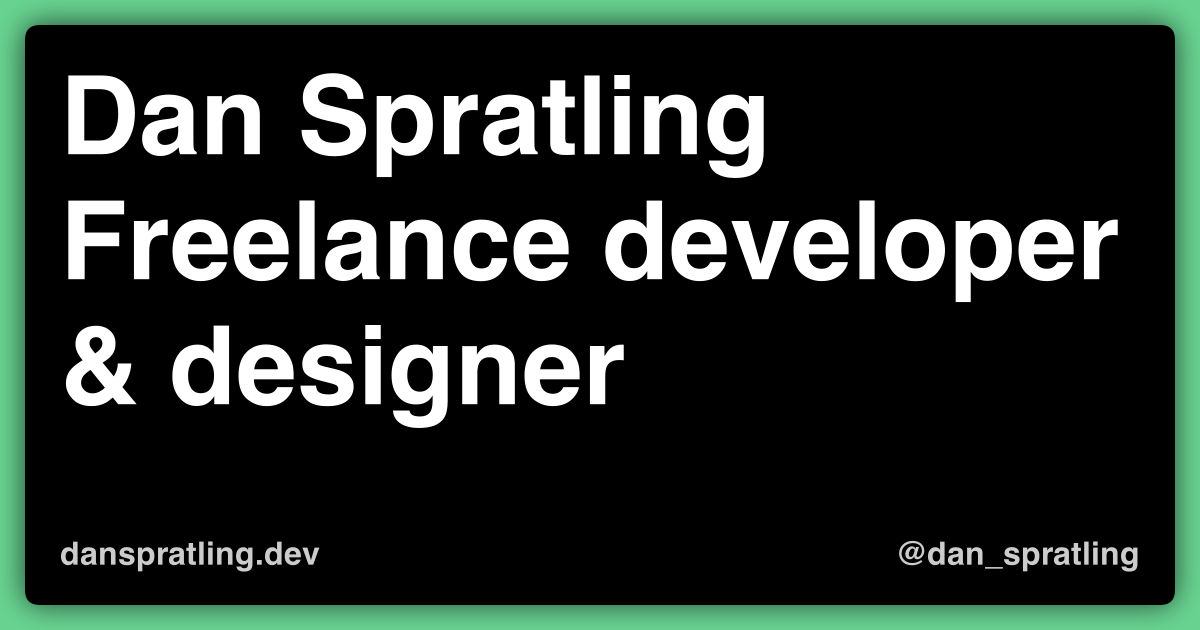
Stop creating generic images for your blog post social media cards. Let's automate them instead!
Dan Spratling
May 14, 2020
7 min read
In my last blog post we created social media images automatically with some spectacular results.

This time around, I'm going to show you how to actually use these within your Gatsby site.
If you need a reminder on how to create one, take a look a the previous post.
This works with Gatbsy by building images with the createPages API. This approach will likely work within other frameworks too by adding a function during their page creation lifecycle
Firstly we need to make a couple of changes to our file from previously, so we can use it from anywhere.
const fs = require('fs')
const { registerFont, createCanvas } = require('canvas')

function generateImage({ title, slug }) {
  //define canvas size
  let width = 1200
  let height = 630

  //draw canvas
  const canvas = createCanvas(width, height)
  const context = canvas.getContext('2d')

  //Fill the background
  context.fillStyle = '#68d391'
  context.fillRect(0, 0, width, height)

  //readjust width and height
  width = width - 50
  height = height - 50

  //fill an inner container to simulate a border
  context.shadowOffsetX = 0
  context.shadowOffsetY = 0
  context.shadowBlur = 25
  context.shadowColor = 'rgba(0,0,0,0.7)'
  context.fillStyle = '#000'
  roundRect(context, 25, 25, width, height, 15, true, false)

  //set the copy style
  context.font = 'bold 82pt Ubuntu'
  context.textAlign = 'left'
  context.textBaseline = 'top'
  context.fillStyle = '#fff'

  //readjust width and height again
  width = width - 50
  height = height - 50

  //redraw the title over multiple lines
  const words = title.split(' ')
  let line = ''
  let fromTop = 70
  words.forEach((word) => {
    let testLine = line + word + ' '
    if (context.measureText(testLine).width > width) {
      context.fillText(line.trim(), 60, fromTop)
      line = word + ' '
      fromTop = fromTop + 125
    } else {
      line = line + word + ' '
    }
  })
  context.fillText(line.trim(), 60, fromTop)

  //insert domain
  context.fillStyle = '#ccc'
  context.font = 'bold 24pt Ubuntu'
  context.fillText('danspratling.dev', 60, 540)

  //insert handle
  context.fillStyle = '#ccc'
  context.font = 'bold 24pt Ubuntu'
  context.textAlign = 'right'
  context.fillText('@dan_spratling', 1140, 540)

  //export image
  const buffer = canvas.toBuffer('image/png')
  const imageLocation = `/images/seo/${slug}.png`
  fs.writeFileSync(`static/${imageLocation}`, buffer)

  return imageLocation
}
We've made a few changes here. We now take a couple props to be able to customise the title and the slug so that we can generate unique images. We also return a value so that we know the location of the image once it's been created.
This makes it much easier to generate images
generateImage({
  title: 'My awesome SEO image',
  slug: 'my-awesome-seo-image',
})

// -> /images/seo/my-awesome-seo-image.png
Now we can create a SEO image easily, lets create lots of them. In Gatsby, we can create lots of blog posts by using templating in gatsby-node.js. Note that I'm using contentful as my CMS, but you could be getting data from any source.
const path = require('path')

exports.createPages = async ({ graphql, actions }) => {
  const { createPage } = actions
  const { data } = await graphql(`
    query {
      posts: allContentfulPost {
        edges {
          node {
            id: contentful_id
            slug
          }
        }
      }
    }
  `)

  data.posts.edges.forEach(({ node }) => {
    createPage({
      path: `/blog/${node.slug}`,
      component: path.resolve('./src/templates/post.js'),
      context: {
        id: node.id,
      },
    })
  })
}
If you need a reminder how to create pages from data in Gatsby, you can find the docs here.
We're already creating pages programatically, so we can use that same loop to create our images and pass their location to the page context.
If i was building this without Gatsby, I'd set this up as a webpack process or as part of my build script, looking for all pages in the site and generating images for them. This isn't tied to Gatsby, even though that's the approach I'm focussing on.
const path = require('path')
const generateImage = require('./functions/socialImage')

exports.createPages = async ({ graphql, actions }) => {
  const { createPage } = actions
  const { data } = await graphql(`
    query {
      posts: allContentfulPost {
        edges {
          node {
            id: contentful_id
            title
            slug
          }
        }
      }
    }
  `)

  data.posts.edges.forEach(({ node }) => {
    const seoImage = generateImage({
      title: node.title,
      slug: node.slug,
    })

    createPage({
      path: `/blog/${node.slug}`,
      component: path.resolve('./src/templates/post.js'),
      context: {
        id: node.id,
        seoImage: seoImage,
      },
    })
  })
}
And then finally, we can use that new context within the page. You'll want to pass this to Helmet, or something similar so you can use it in your page <head>.
const Post = ({ data, pageContext }) => {
  console.log(pageContext.seoImage) //

  return (
    <Layout>
      <SEO
        title={data.title}
        description={data.description}
        image={pageContext.seoImage}
      />

      <div>//Page content here</div>
    </Layout>
  )
}
Once you've set this up you can go to the opengraph debugger to test your new social image.

Tags:
Gatsby
React
Node
SEO